How To Install Utility Sink
Installing a utility sink is a great way to provide a convenient and practical place for cleaning tasks in a laundry room, garage, or basement. Utility sinks are available in a variety of different sizes and configurations, and the installation process will vary depending on the model you choose. This guide will provide a general overview of the most common steps in installing a utility sink, from preparing the area to connecting the plumbing. With the right tools and materials, you can get the job done quickly and easily.
What is a Utility Sink?
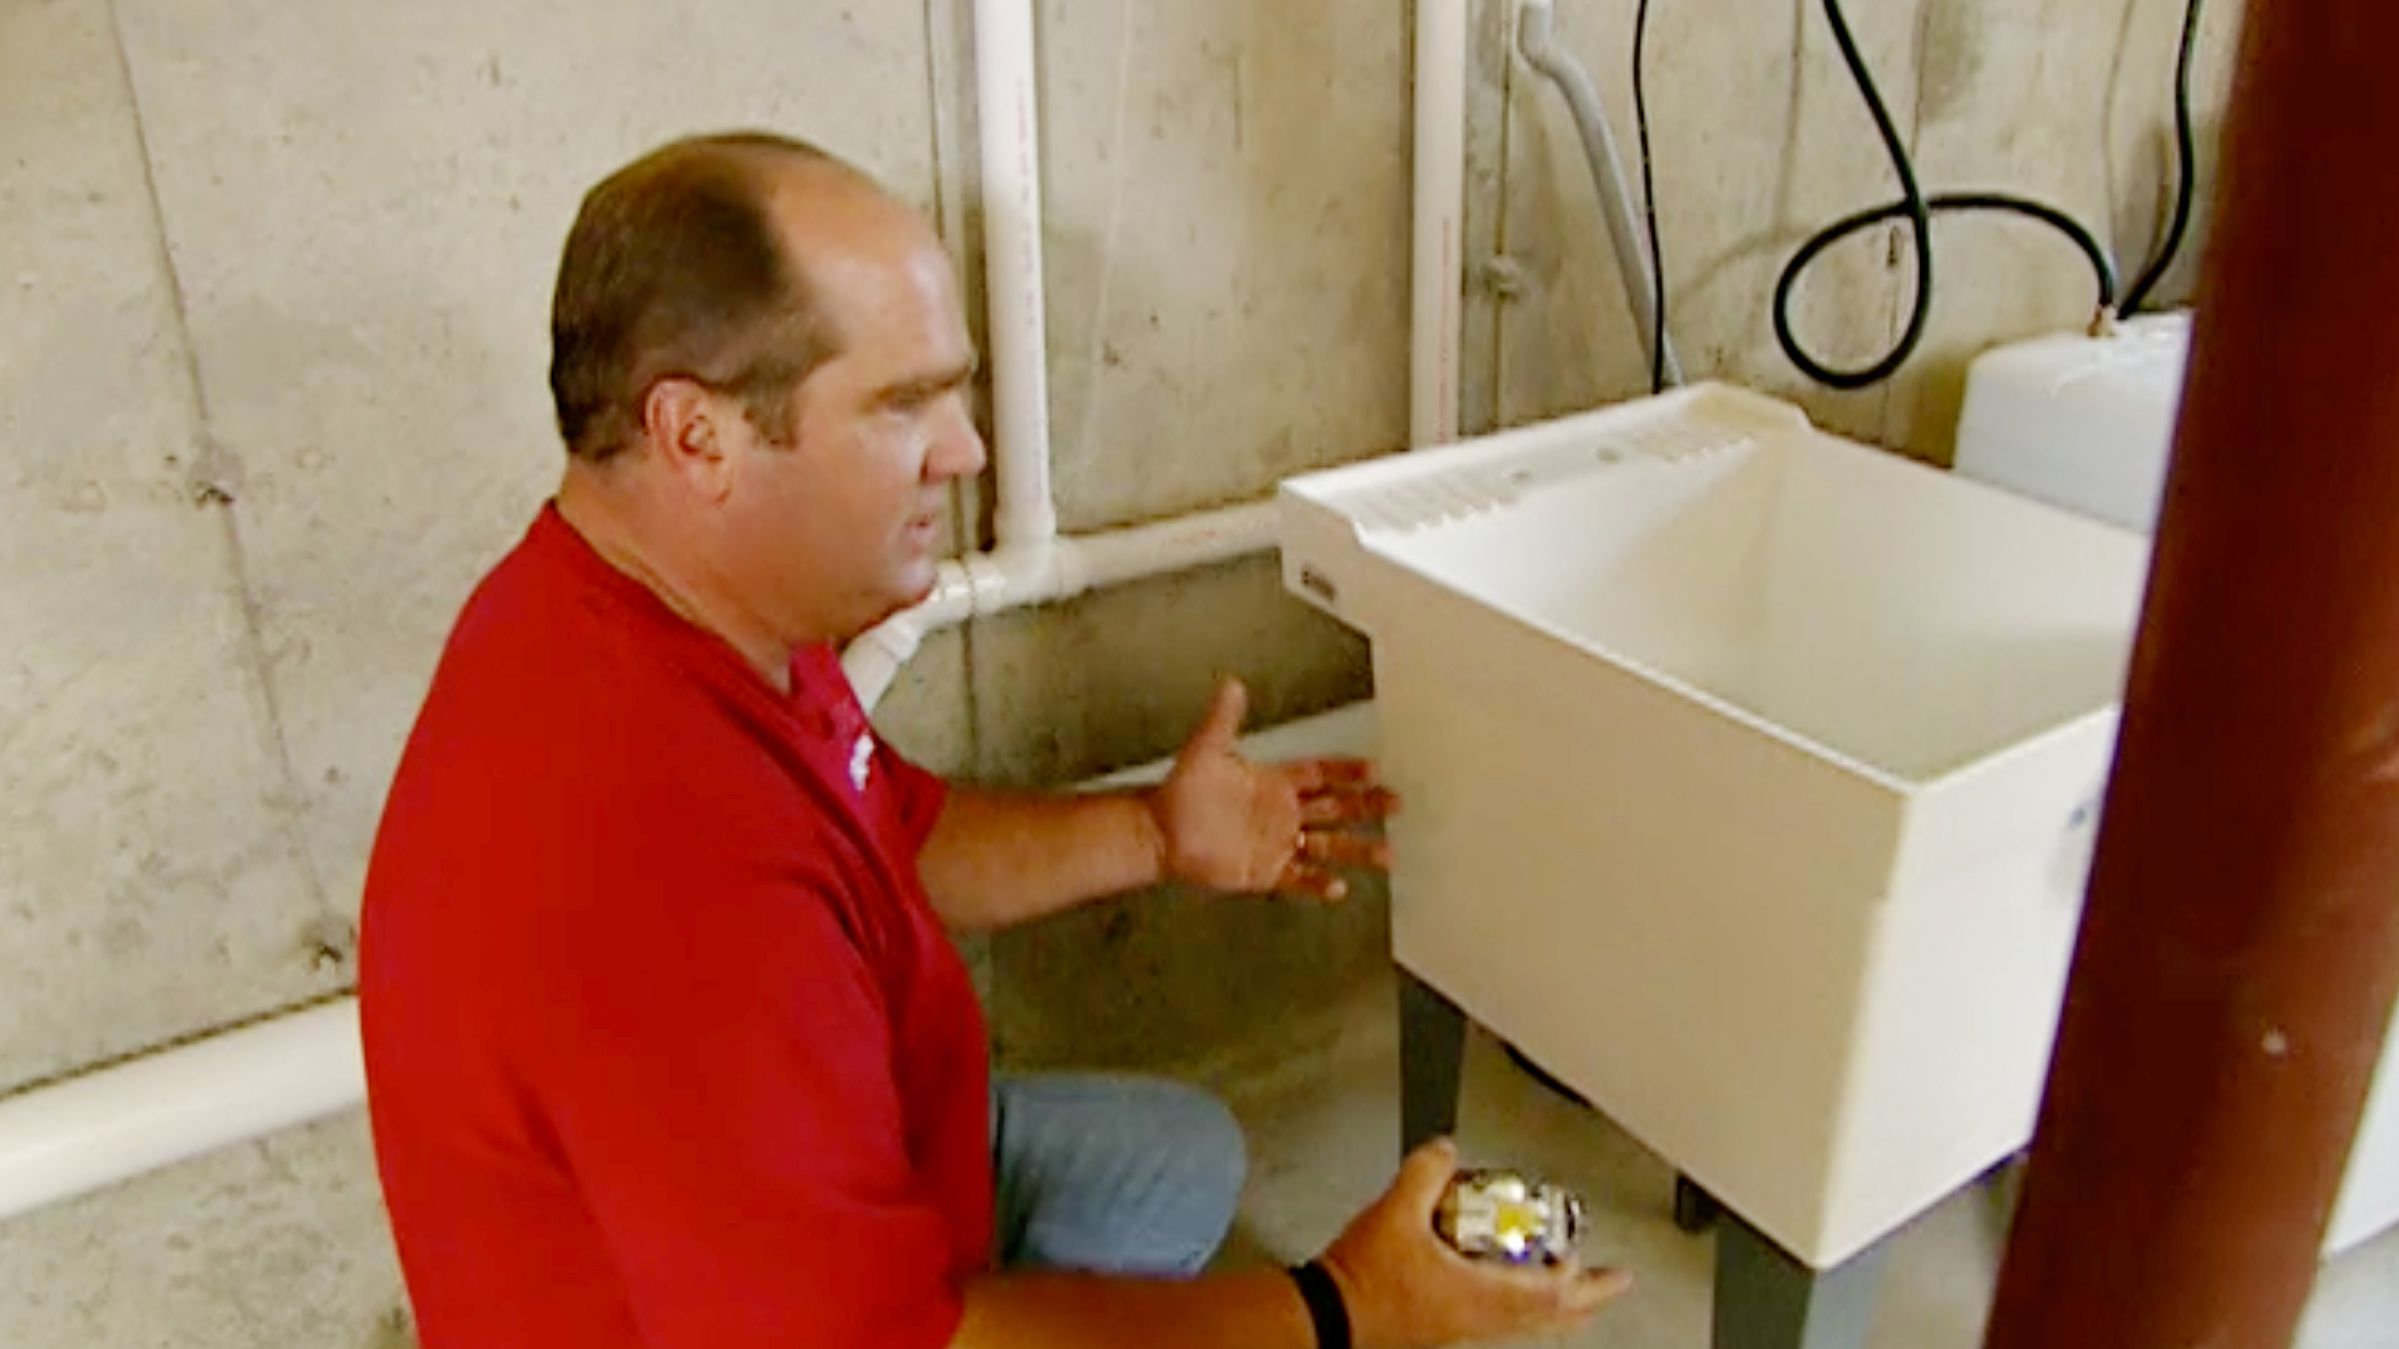
A utility sink, also known as a laundry sink, is a special type of sink designed for use in laundry rooms, basements, and other areas of the home that require a sink for cleaning projects. Utility sinks are typically deeper and larger than traditional kitchen sinks, making them perfect for washing bulky items, such as large pots and pans, as well as soaking and scrubbing items. They can also be used for bathing pets, filling buckets, and even as a shallow pool for children to play in on hot summer days. Installing a utility sink in your home is relatively straightforward and can be a great way to add a useful and convenient feature to your home.
Assessing the Space and Requirements
Installing a utility sink is a great way to add convenience and functionality to your laundry room. However, it’s important to consider the size and shape of the space, as well as the type of sink you want to install. Before you begin your installation, take some time to assess the space and requirements.
Start by measuring the length and width of the space you plan to install the sink in. Make sure the size of the sink you choose fits the space and leaves enough room for plumbing connections. If you plan to install a wall-mounted sink, make sure the wall can hold the weight of the sink. Additionally, consider your water supply and drainage needs. Check the diameter of your existing water supply and drainage pipes to make sure they are compatible with the sink you plan to install.
Finally, think about the materials you want to use for the sink. Stainless steel is a popular choice, but other materials like porcelain or ceramic can also be used. Ensure the material you choose is suitable for the space and can hold up to the wear and tear of everyday use.
By assessing the space and requirements before you begin installation, you can ensure that you have the right materials and space to install the utility sink. With some careful planning and preparation, you can complete a successful installation and start using your new sink in no time.
Gather Required Materials
Installing a utility sink can be a great way to boost the functionality of a laundry room or garage. Before beginning the installation, however, it is important to gather all necessary materials. This includes the utility sink, installation hardware, and a utility faucet. Once you have all the items you need, the installation process can begin.
The utility sink should come with a manual and a list of the materials you will need. The installation hardware will include a drainpipe, a P-trap, and two washers for the water supply. For the utility faucet, you will need a utility faucet, a supply line, and a shutoff valve. Additionally, it is important to have a level, a drill, and a wrench.
Once all the items are gathered, you can start the installation process. Be sure to read the instructions carefully and use all materials and tools as recommended to ensure a successful installation. If you need help with the installation, you can always contact a professional plumber.
Pre-Installation Preparations
Before starting any installation, it’s important to properly prepare. Installing a utility sink is no different. Before you begin, you need to make sure you have the appropriate tools and materials, and that the area you’ll be working in is clear and accessible.
Tools you’ll need include a Phillips head screwdriver, a flathead screwdriver, a drill and drill bits, a level, a utility knife, a wrench, a hacksaw, and pipe wrenches. Materials you’ll need include a utility sink, shutoff valves, flexible supply lines, a sink trap, and Teflon tape.
You should also turn off the water supply to the area you’ll be working in. Once that’s done, you should clean and sanitize the area, removing any debris or obstructions. Also, be sure to measure the area where the sink will be installed, and make sure you have the appropriate sized sink and parts.
Once you have all your tools and materials, and the area is prepped, you’re ready to start installing your utility sink. Follow the instructions that come with the sink to complete the installation.

Installing the Utility Sink
in Your Home
Installing a utility sink in your home is a great way to add convenience and functionality to your space. A utility sink is a special type of sink designed for tasks such as laundry, dishwashing, and handwashing. Not only is it useful for these tasks, but it also adds an aesthetic appeal to your home. Installing a utility sink is a relatively easy job, and the following steps will help you get started.
First, you will need to decide where to place the utility sink. It should be placed in an area where it can be accessible, and close to the water supply. You can also choose to install the sink in an outdoor area, such as a patio or deck, if desired.
Next, you will need to choose the type of utility sink that best suits your needs. There are several options to choose from, including stainless steel, cast iron, and porcelain. All of these materials are durable and stylish, and they should last for many years.
Once you have chosen the type of sink, you will need to purchase the appropriate plumbing supplies. You will need flexible hoses, shut-off valves, and other components to complete the installation.
Once the plumbing supplies are in place, you can begin connecting the sink to the water supply. Use a wrench to tighten the connections and make sure that the water is turned off before doing any work.
Once the utility sink is connected to the water supply, you can begin the installation process. Make sure to follow the manufacturer’s instructions to ensure that everything is installed correctly.
Finally, you can finish the installation by connecting the drain and the faucet. Once this is complete, you can turn the water back on and test the sink to make sure everything is functioning properly.
Installing a utility sink in your home is a great way to add functionality and aesthetic appeal to your space. With the right materials and a bit of DIY know-how, you can easily install your own utility sink in no time.
Connecting to Water Supply
Installing a utility sink can be a simple DIY project that adds a great deal of functionality to any laundry room. To get started, you’ll need to connect the utility sink to your home’s water supply. Connecting your utility sink to the water supply requires a few basic plumbing tools, such as a wrench, a pipe cutter, and some plumber’s tape. Here, we’ll walk you through the process of connecting the water supply to your utility sink, so you can enjoy your new sink in no time.
First, locate the main water supply line for your house. This is usually located near the water heater or outside of your home. Once you’ve located the main water supply line, you’ll need to shut off the water supply valve. This valve is usually located near the main water supply line. Once you’ve shut off the water supply, you’re ready to begin the installation.
Next, measure and cut the desired length of PVC piping to connect the water supply to the utility sink. Connect the PVC piping to the main water supply line, using the wrench and plumber’s tape. Finally, connect the other end of the PVC piping to the faucet of the utility sink. Make sure to use plumber’s tape and tighten the connections using a wrench. After you have connected the water supply, turn the water supply back on and you’re finished.
Installing a utility sink is a simple DIY project that adds a great deal of value and functionality to any laundry room. By following the steps above, you can quickly and easily connect the water supply to your utility sink and enjoy the benefits of having a convenient and space-saving utility sink.
Finishing Touches and Testing
Once you have your utility sink installed, there are a few finishing touches and tests you should perform before using it. To ensure a watertight seal, use plumber’s putty around the sink’s drain. This will prevent water from leaking out and causing damage. Next, use a level to make sure the sink is even and level. It is important that the sink is even so that water does not pool in one area. Finally, test the sink by running some water through it. Make sure there are no leaks or clogs. If you notice any issues, contact a professional plumber for assistance.
Installing a utility sink may seem daunting at first, but it can be done with a few simple steps. With the right tools and materials, you can easily install a utility sink and have it ready for use in no time. To ensure a secure installation, use plumber’s putty, a level, and test the sink with water. Following these steps will help you get the job done quickly and correctly.
Troubleshooting Tips
Installing a utility sink correctly can be a bit tricky for the average homeowner. And while there are plenty of how-to videos and online resources out there, sometimes it’s best to get a professional in to help you out. But if you’re determined to tackle the job yourself, then troubleshooting tips can be a great help.
First off, make sure you have the right tools and materials for the job. This includes a wrench set, pvc pipe, Teflon tape, and a level. If you don’t have these items, you’ll need to purchase them before you begin installation.
In addition to the tools and materials, it’s also important to ensure that you have the right kind of sink for your needs. Depending on what you plan to use the sink for, you’ll want to select a model that’s suited for that purpose.
Next, make sure that the sink is properly connected to the plumbing. If you’re not familiar with plumbing, it’s a good idea to consult a professional. This will help you avoid costly mistakes and ensure that the installation is done correctly.
Finally, if you run into any problems during installation, don’t hesitate to ask for help. Many hardware stores and home improvement centers have specialists who can provide advice and assistance with your utility sink installation.
By following these tips, you’ll be able to successfully install a utility sink in your home with minimal hassle. Remember, if you run into any problems, don’t hesitate to ask for help. With the right tools and materials, troubleshooting any issues shouldn’t be too difficult.
FAQs About the How To Install Utility Sink
Q1. What tools are required to install a utility sink?
A1. You will need a saw, screwdriver, level, pliers, wrench, and a hammer.
Q2. What type of plumbing connections are needed for a utility sink?
A2. Depending on the type of sink you purchase, the most common plumbing connections are flexible braided water supply lines, a P-trap, and a drain.
Q3. How do I mount the utility sink to the wall?
A3. You will need to use a stud finder to locate the wall studs and then use wall anchors to secure the sink to the wall. You may need to use screws to fasten the sink to the wall studs.
Conclusion
Installing a utility sink can be a great way to add extra convenience and functionality to your home. With the right tools and materials, you can easily install a utility sink yourself in no time. By following the steps outlined above, you can have a functional utility sink in your home in no time. With the added convenience and functionality, a utility sink can be a great addition to any home.


