How Hard Is It To Retile Your Own Bathroom?
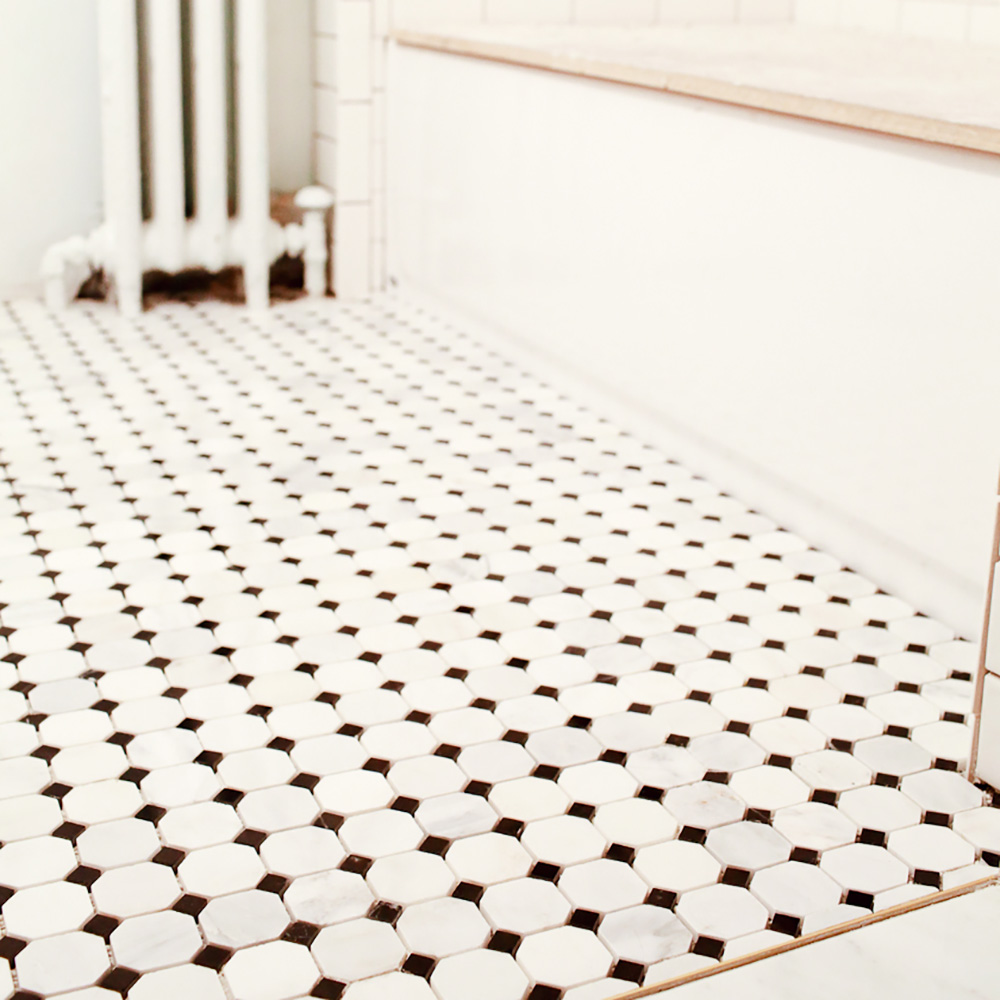
Retiling a bathroom is a big job that requires a lot of skill and patience. However, with the right knowledge and tools, it can be a rewarding DIY project. Though it will take time and dedication, it is possible to retile your own bathroom. The project will involve removing and replacing old tiles, as well as preparing the surface for new tiles. You will need to choose the right kind of tile for the job and use the right tools for cutting and laying the tiles. Additionally, you will need to create a waterproof sealant to protect the tiles. With the right approach and preparation, you can successfully retile your own bathroom.
Understanding the Basics of Retiling
Your Own Bathroom
Retiling your own bathroom can seem like a daunting task, but it doesn’t have to be. With the right preparation, materials, and know-how, retiling your bathroom can be a rewarding and cost-effective way to give your bathroom a fresh look. To help you get started, we’ve put together a comprehensive guide that covers the basics of retiling your own bathroom.
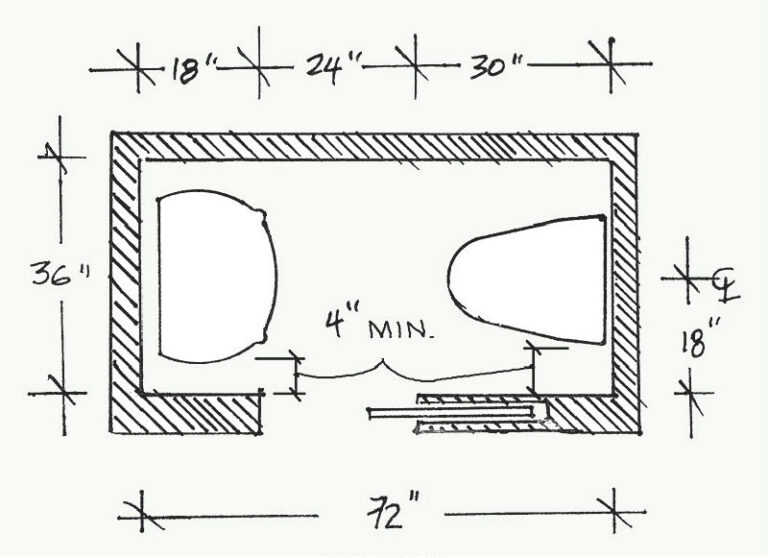
Before you start, make sure you have a clear understanding of the layout and design of your bathroom. Take measurements of the room and consider what tiles would be best suited for the environment. Consider the amount of grout needed to fill the gaps between the tiles, and the type of adhesive you’ll need to adhere the tiles to the wall.
You’ll also need to purchase the right tools for the job. Depending on the type of tiles you’ve chosen, you may need a tile saw, grout mixer, trowels, sponge, and sealant. Make sure you have all the necessary tools before you begin.
When you’re ready to start retiling, begin by removing any existing tiles. Use a chisel or hammer gently to break away the old tiles and clean up the surface. Once the surface is clean and ready to go, you can begin to lay down the new tiles. Start in the corner and work your way out. Make sure to use the correct adhesive and grout to ensure the tiles are securely fastened to the wall.
Finally, use a sealant to protect your new tiles. This will help keep them looking great and will also make them easier to clean and maintain.
Retiling your own bathroom is a great way to give your space a fresh new look. With the right preparation and knowledge, it can be a relatively simple and cost-effective project. Just make sure you have the right materials and tools, and take the time to properly measure and lay the tiles. With a little bit of effort, you can have a beautiful bathroom in no time.
Acquiring the Necessary Tools and Materials
When it comes to retiling your own bathroom, having the right tools and materials is key. It’s important to understand the type of surface you’ll be working with, the type of tile you’ll be using, and the adhesive you’ll need to affix it to the surface. If you are using natural stone tiles, such as marble or granite, you will need to invest in an appropriate sealant to protect the tiles. To ensure your project goes as smoothly as possible, it’s important to have the right tools and materials on hand.
For starters, you’ll need a tile saw, which is designed to cut the tiles to the desired size and shape. You’ll also need a notched trowel to spread the adhesive, a rubber grout float to press the grout into the joints, and a sponge to wipe away the excess grout. Additionally, you’ll need a rubber mallet, a tile nipper, and a sharp utility knife. Finally, you should have a level and a measuring tape to ensure the tiles are properly aligned. With the right tools, materials, and a bit of patience, you can successfully retile your bathroom.
Prepping Your Bathroom for Retiling
Retiling your bathroom is a great way to give your bathroom an upgrade and boost its resale value. However, many people are unaware of the amount of work required to properly retile a bathroom. Before beginning a retiling project, you must thoroughly prepare your bathroom space. This includes removing any existing tile and grout, patching the walls, cleaning the surfaces, and ensuring that the area is completely dry. You must also purchase the correct materials and tools for the job, as well as the tile and grout that you plan to use. Once the space is properly prepped, you can begin laying the tile in the desired pattern. After the tile is laid, you must allow it to dry and then apply grout to the seams. Finally, you must seal the grout to help protect it from water damage. Although retiling your own bathroom can be a challenging and time-consuming job, with the right preparation and materials, you can achieve professional results and create a beautiful bathroom.
Installing the Tiles
Retiling your own bathroom can seem daunting, but with the right preparation, it can be an enjoyable and rewarding experience. Before you begin, it’s important to understand the different parts of tiling a bathroom, as well as the tools and materials you will need.
The first step in the tiling process is to prepare the bathroom surface. This involves removing any existing tiles, filling in any cracks or holes, and sanding the walls and floor. Once the surface is ready, the next step is to lay the tiles. Before you begin laying the tiles, it’s important to check the dimensions of the bathroom and plan out the tile pattern you want to create.
When you’re ready to begin tiling, make sure to use a tile adhesive that is suitable for the type of tiles you are using. Spread the adhesive evenly on the surface and lay the tiles in the desired pattern. You can then use a trowel to spread the adhesive and ensure the tiles are securely in place. Finally, you can grout the tiles to give them a finished look.
Retiling your own bathroom can seem like a challenging task, but with the proper preparation and a few tools, you can have a beautifully tiled bathroom in no time. Just remember to take your time, plan out your tile pattern, and use the right tools and materials to ensure a successful outcome.

Securing the Tiles and Grouting
Retiling your own bathroom is no easy feat, and no doubt securing the tiles and grouting is one of the most difficult parts. To get the best results, it’s vital to use the right tools and materials. For starters, you’ll need tiles, adhesive, grout, and possibly waterproofing material, depending on the type of tiles you’re using. You’ll also need a trowel, a rubber grout float, a sponge, a sponge float, a tile saw, and a notched trowel.
To secure the tiles, you’ll need to spread the adhesive on the walls using the notched trowel. Then, the tiles must be pushed into place, making sure they are level and even. You’ll need to leave an appropriate gap between the tiles, as this will later be filled in with grout.
Finally, you’ll need to grout the tiles. To do this, you’ll need to spread the grout over the tiles with the grout float, making sure to remove any excess. Once the grout has dried, use the sponge to get rid of any grout residue.
Overall, retiling your own bathroom is a big job, but with the right tools and materials, it is possible. Taking the time to make sure the tiles and grout are secured properly will ensure that your bathroom is safe and looks great.
Caring for Your New Tiles
When you decide to retile your bathroom, you may think it’s a difficult job. But it doesn’t have to be if you take the right steps. To ensure your bathroom tiling project is a success, you’ll need to understand the basics of tile installation.
First, you need to make sure you have the right tools and materials. Tiling a bathroom requires the use of a wet saw, tile spacers, grout, trowels, and protective gloves. You’ll also need to purchase the tile you want to use.
Second, you need to plan for the job. Start by measuring the floor and walls, and then create a plan for how you’ll lay the tiles. Be sure to allow for an even amount of grout spacing between each tile.
Third, you’ll need to make sure the surface you’re tiling is clean and free of dirt and debris. This is important as it will ensure the tiles adhere properly. To prepare the surface, use a brush to remove any dirt, and a damp cloth to clean up any dust or debris.
Finally, you’ll need to apply the tile adhesive and lay the tiles. Once the tiles are in place, use a grout float to fill in the grout and use a sponge to remove any excess grout.
Retiling a bathroom may seem like a daunting task, but with the right tools, materials, and preparation, it can be a rewarding experience. Investing the time and effort into tile installation can help you create a beautiful and functional bathroom space.
Dealing with Common Retiling Issues
Retiling your bathroom can be a difficult process, especially if you are inexperienced. While it may be tempting to take on the task yourself, it is important to consider the possible issues that can arise from attempting to retile your bathroom on your own. This article will provide an overview of common retiling issues and how to best address them.
One of the most frequent issues encountered during retiling is dealing with water damage or mold. Both of these can be difficult to address without professional help. If you are attempting to retile your bathroom, it is essential to make sure that you identify all areas of water damage and mold before beginning the project. If any of these areas are not addressed correctly, it can lead to further damage to the tile and surrounding surfaces. Additionally, it is important to use the proper materials and techniques to ensure that the tile is properly sealed and secure.
Another common issue that arises during retiling is dealing with uneven surfaces. This can be especially difficult if the bathroom is an older home with uneven floors or walls. It is important to be aware of any uneven surfaces and make sure to use the appropriate materials to ensure that the tile is level and secure. Additionally, it is important to use the correct setting materials to ensure that the tile does not become unglued or slip.
Finally, when retiling a bathroom, it is important to be aware of possible safety hazards. Tiles can be slippery when wet, so it is essential to ensure that the area is properly sealed and dried before installing the tile. Additionally, it is important to use the appropriate tools and materials to ensure that the tile is properly secured and will not become loose or move.
Retiling your bathroom can be a difficult and time-consuming process. However, by being aware of common retiling issues and taking the necessary steps to address them, you can ensure that your bathroom is properly retiled and secure.
FAQs About the How Hard Is It To Retile Your Own Bathroom?
1. What kind of tools do I need to retile my bathroom?
You will need a variety of tools such as a tile saw, grout float, trowel, level, sponges, and a wet saw.
2. Is it difficult to retile my own bathroom?
It is not overly difficult to retile your own bathroom if you have the right tools and a basic understanding of the process. However, if you are a beginner, it is recommended that you seek professional help to ensure that the job is done correctly.
3. How long does it take to retile a bathroom?
The amount of time it takes to retile a bathroom depends on the size of the room and the type of tile that you are using. Generally, it can take anywhere from a few hours to a couple of days.
Conclusion
Overall, retiling a bathroom can be a difficult job. It requires a lot of time and effort, as well as some specialized tools and materials. If you have the right skills, tools, and materials, it is certainly possible to retile your own bathroom. However, if you don’t feel up to the challenge, it is best to hire a professional to get the job done right.
