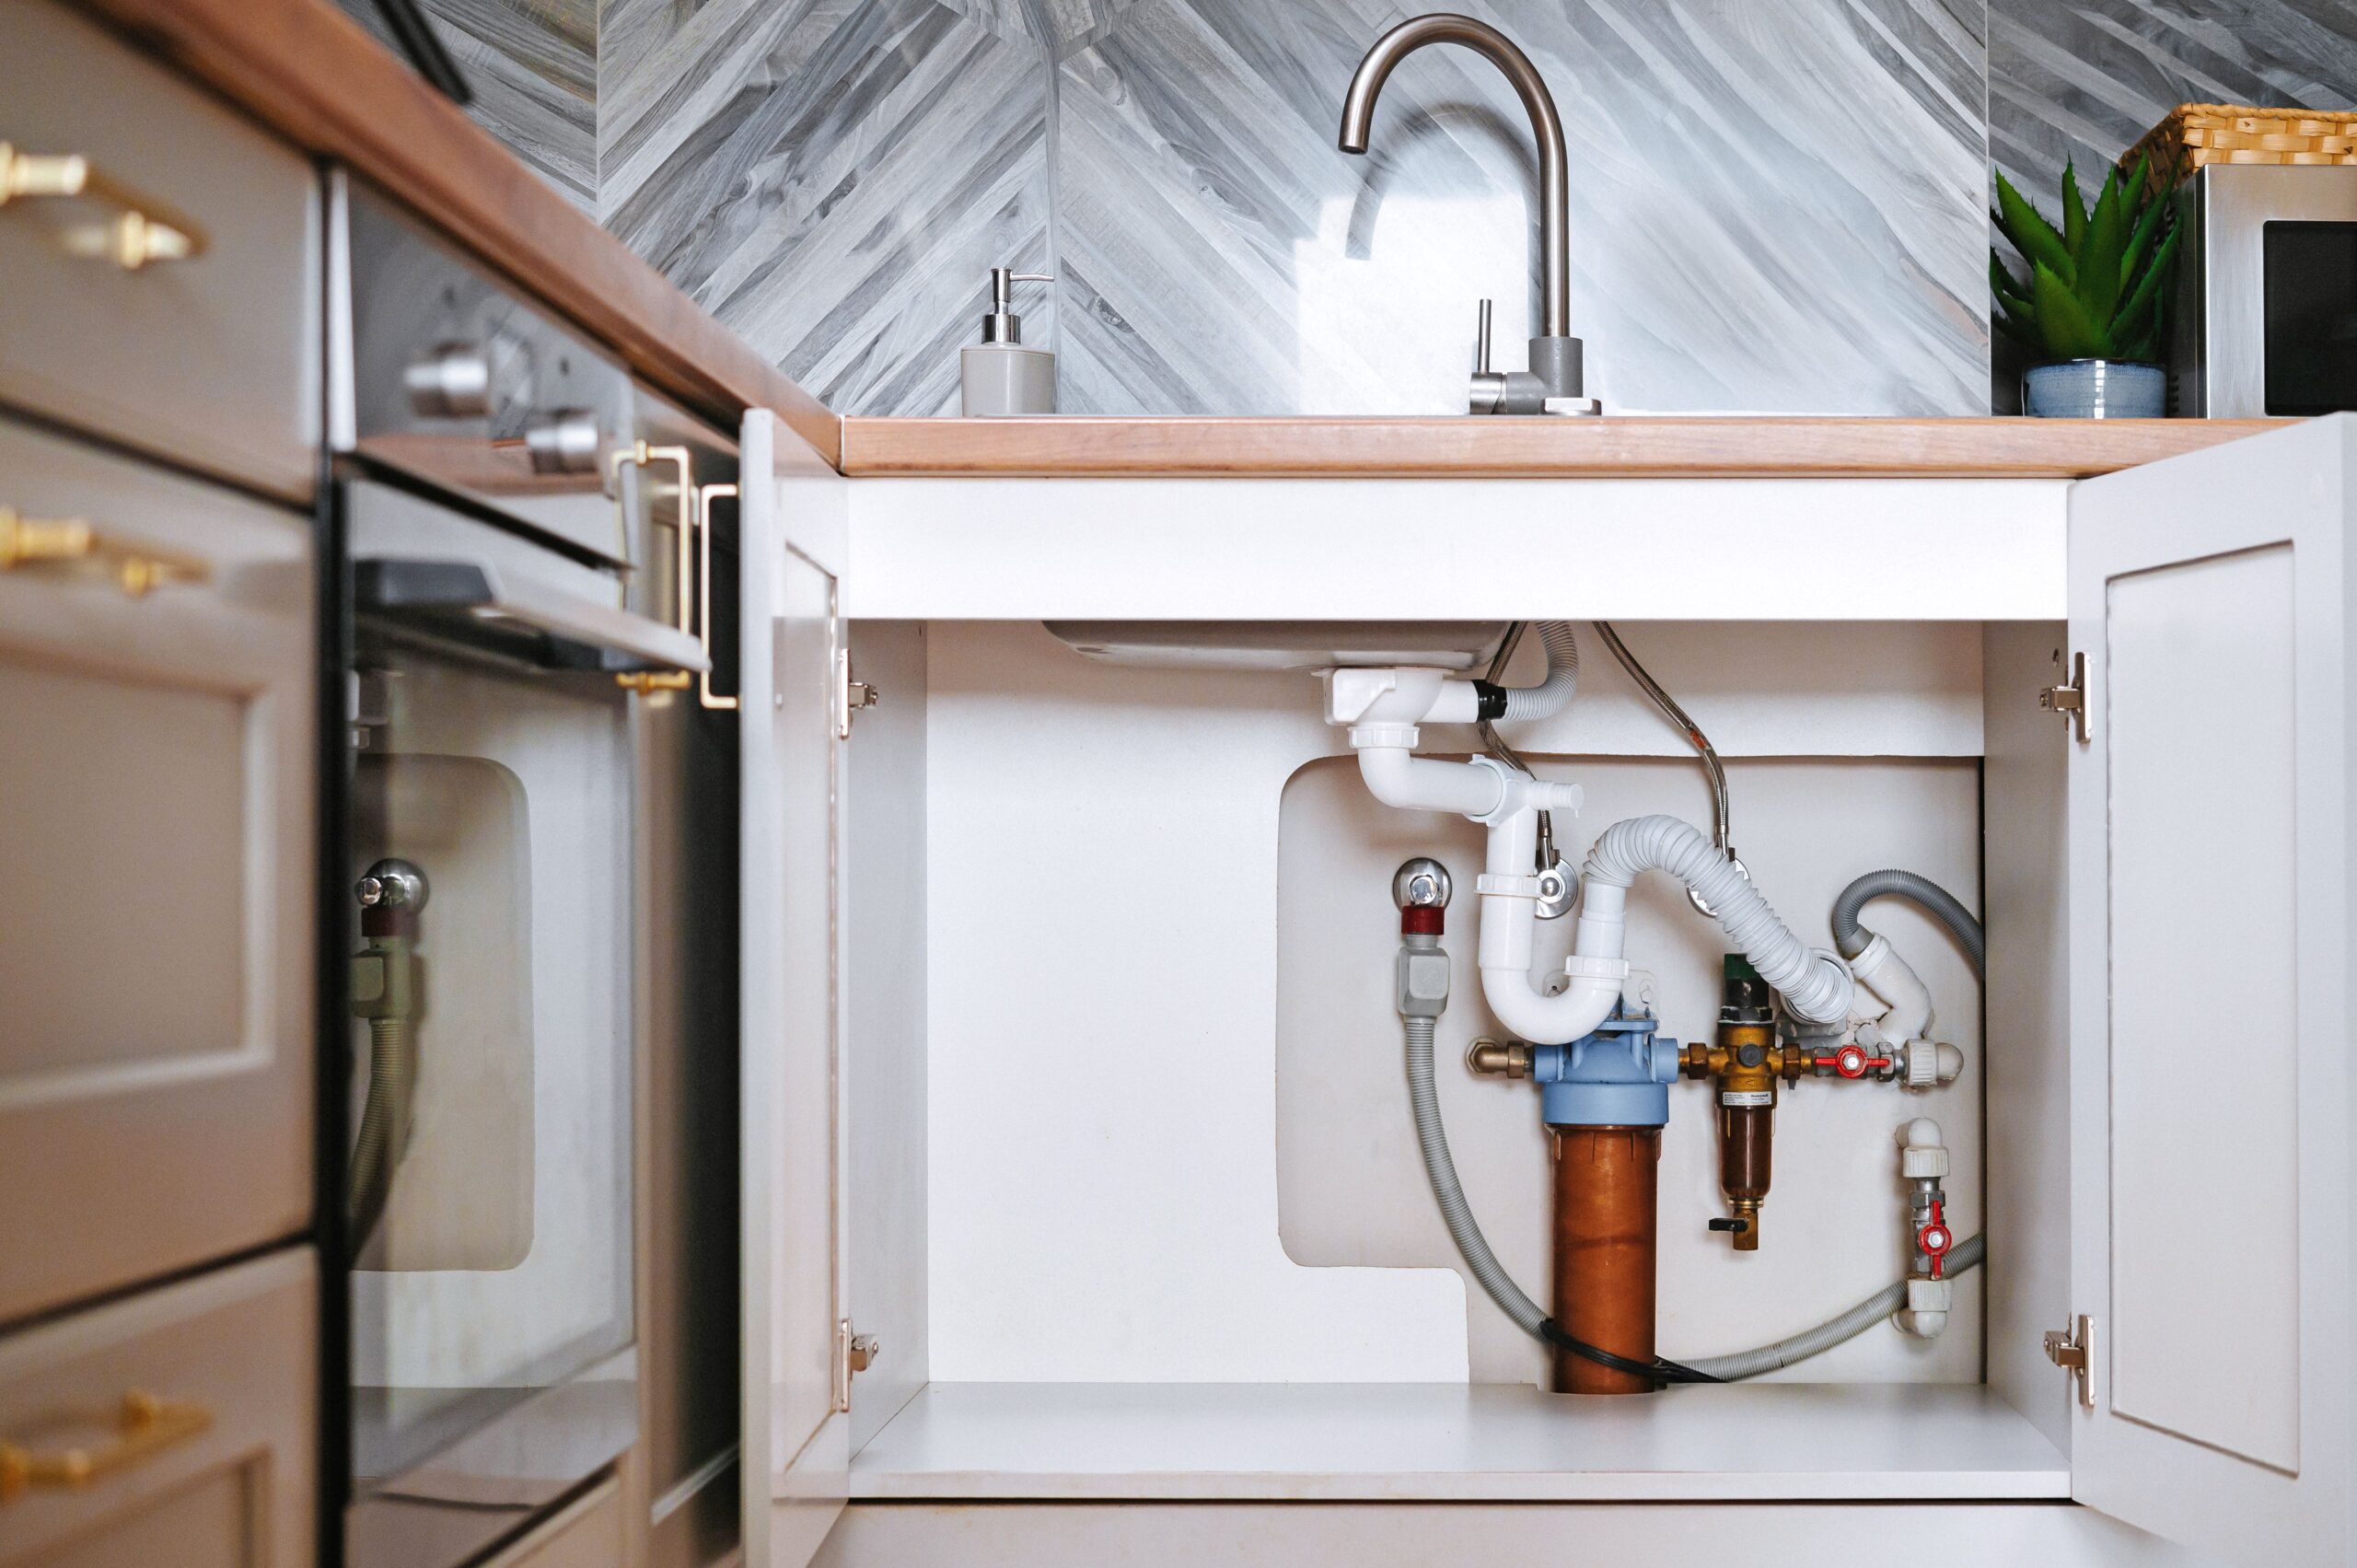
A Guide To Replacing Sink Strainers In Kitchen Sinks.
Replacing sink strainers in kitchen sinks can be a daunting task, but it doesn’t have to be. This guide will provide you with the step-by-step instructions you need to successfully replace old or broken sink strainers in your kitchen sink. We’ll cover what supplies you’ll need, how to remove the old strainer, and the best techniques to install the new one. By the time you’re done, you’ll be an expert at replacing sink strainers!
Reasons To Replace Sink Strainers
Replacing sink strainers is a cost-effective way to help maintain the functionality of your kitchen sink. A sink strainer is a filtering device typically installed in the drain of a sink or other plumbing fixture to keep debris out of the pipes. Over time, these strainers can become clogged and worn, leading to water leaking from the sink and potentially damaging the surrounding area. Replacing these strainers can help you avoid costly repairs and keep your kitchen in good working order. Here are some of the most important reasons to replace sink strainers when needed:
1. Reduce Clogs: Old sink strainers can become clogged with debris, causing water to back up in the sink and potentially overflow. Replacing sink strainers with new ones can help reduce the risk of clogs.
2. Prevent Damage: If the strainers become worn or clogged, they can cause water to leak from the sink, leading to staining and damage to surrounding surfaces. Replacing the strainers can help prevent any potential damage.
3. Improve Performance: New sink strainers can help improve the performance of your sink. By keeping debris out of the pipes, they can help maintain a smooth flow of water, and they can also help reduce bad odors from the drain.
Replacing sink strainers is an important part of maintaining your kitchen sink. Not only can it help reduce the risk of clogs and damage, but it can also help improve the performance of your sink. Be sure to regularly check your sink strainers for signs of wear and tear, and replace them when needed to keep your kitchen in good working order.
Tools and Materials Needed
Replacing a sink strainer in a kitchen sink is an easy enough task that most DIYers can handle without much difficulty. However, having the right tools and materials is an essential part of the process. To complete the job successfully, you’ll need a few items, including a flat-head screwdriver, a bucket, a basin wrench, a plumber’s putty, and a new sink strainer. Additionally, you may need some silicone caulk, depending on the type of sink strainer you purchase.
When selecting a new sink strainer, it’s important to take into account the type of sink you have and the sink strainer’s compatibility with your existing plumbing. Also, be sure to read the instructions carefully before attempting to install the new strainer. If you’re still unsure about how to install the strainer, it’s always a good idea to consult a plumber for assistance. With the right tools and materials, replacing a sink strainer in a kitchen sink is a relatively easy endeavor.
Preparing to Replace the Strainer
Sink strainers are an integral part of kitchen sinks, so replacing them is an important task for any homeowner. Replacing a sink strainer can be a tricky and time-consuming process, but with the right tools and know-how, it can be done quickly and easily. This guide will provide step-by-step instructions on how to replace a sink strainer, and what to do if the replacement parts don’t fit.
Before beginning the replacement process, it’s important to make sure you have all the necessary tools and parts. You’ll need a pair of pliers, a screwdriver, a pair of gloves, and a replacement sink strainer. You should also make sure that the replacement strainer is the same size and type as the one you are replacing.
Once you have all the necessary tools and parts, the next step is to remove the old sink strainer. This can be done by using the pliers to loosen the screws that hold the strainer in place. Once the screws are loose, you can carefully remove the strainer. Make sure to be gentle with it so that it doesn’t break.
Once the old strainer has been removed, you can now install the new one. First, make sure that the new strainer fits the sink and that all of the holes are lined up correctly. Once it is in place, use the screwdriver to tighten the screws. Make sure that the screws are tight enough to hold the strainer in place, but not so tight that they damage the sink.
Finally, it’s important to check that the strainer is working properly. Do this by running some water through it and checking for any leaks. If you find any, make sure to tighten the screws again. Once the strainer is working properly, your sink is ready to use.
Removing the Old Strainer
When replacing a sink strainer in your kitchen sink, the first step is to remove the old one. In most cases, the old strainer can be removed by unscrewing it from the sink. However, if the strainer is corroded or stuck, you may need to use a wrench or pliers to loosen it. Additionally, you may need to use a utility knife to cut away any caulking or sealant that is keeping the strainer in place. Once the old strainer is removed, you can begin the process of installing the new one.
Installing the New Strainer
Replacing a sink strainer is a relatively simple home improvement project that can be completed in a few steps. However, it’s important to make sure that the new strainer is correctly installed to ensure a tight seal and prevent water from leaking. To start, make sure that the drain opening is free of debris and dirt. Next, apply a generous amount of plumber’s putty around the base of the strainer. Then, carefully press the strainer into the drain opening, making sure that it’s firmly in place. Finally, use a screwdriver to tighten the screws on the strainer until they’re secure. Once the strainer is secured, the installation is complete and your kitchen sink is ready for use.
Testing the New Strainer
Replacing a sink strainer in your kitchen sink is a relatively simple process, but it’s important to test the new strainer to make sure it’s adequately sealing the sink. Before beginning the process of replacing the strainer, it’s important to turn off the water supply to the sink, then open the drain and remove the old strainer. After you’ve installed the new strainer, you should test it to make sure it’s functioning properly.
To test the new strainer, fill the sink with hot water, then plug the drain and let the water sit for a few minutes. After some time, unplug the drain and observe the water pressure. If the water drains slowly, it’s likely that the strainer is not positioned properly and needs to be adjusted. If the water drains quickly, the strainer is likely functioning correctly. Additionally, it’s important to inspect the strainer for any leakage. If you notice any leaking, the strainer needs to be adjusted or replaced.
Testing the new strainer is an important step of the replacement process. It’s always best to double check that the new strainer is properly installed and functioning correctly before using the sink. This simple step will help ensure that your sink is functioning properly and that your kitchen is free of any unwanted leakage.
Caring for the New Strainer
Once you have successfully installed a new sink strainer in your kitchen sink, it is important to know how to properly care for it. Caring for a new sink strainer will ensure that it lasts for years to come. To help keep your sink strainer clean and maintained, here are a few tips to keep in mind:
1. Clean the strainer regularly. A regular cleaning schedule will help prevent the buildup of residue, debris, and other materials. Use a mild detergent and a soft cloth to wipe down the strainer.
2. Inspect the strainer for signs of wear or damage. Look for any cracks or chips and check for loose or missing pieces.
3. Replace any parts that are damaged or worn. This will help ensure that the strainer continues to function properly.
4. Use a brush or other tools to remove debris from the strainer. If buildup has occurred, use a metal brush to remove it.
By following these simple steps, you can ensure that your sink strainer remains clean and in good condition for many years to come. With regular cleaning and maintenance, you can help extend the life of your sink strainer and ensure that it continues to properly strain out any debris.
Troubleshooting Common Issues
Troubleshooting common issues with sink strainers can be daunting. Fortunately, with the right knowledge and tools, you can quickly and easily replace them. Whether you’re a homeowner or a professional plumber, this guide will walk you through the steps to replace your sink strainer.
To begin, you should understand what a sink strainer does. It’s a device that prevents food particles and other debris from entering the drain pipe, keeping your kitchen sink clean and free of clogs. But over time, strainers can become damaged or clogged and need to be replaced.
Next, you’ll need to locate the correct replacement parts. Start by measuring the diameter of the strainer and the depth of the sink opening. Then, find strainers that match your measurements and are made from a durable material like stainless steel.
Once you’ve found the right strainer, you’ll need to remove the old one. Using a wrench or pliers, unscrew the strainer from the sink opening and remove it.
Finally, you’ll need to install the new strainer. After making sure the strainer is the correct size, place it in the sink opening and tighten it with the wrench or pliers. Then, turn on the water to check for leaks.
By following the steps above, you can easily replace sink strainers and ensure that your kitchen sink is working properly. With the right tools and knowledge, you can solve any common issues and keep your sink running smoothly.
FAQs About the A Guide To Replacing Sink Strainers In Kitchen Sinks.
1. How often should I replace my sink strainer?
Answer: The frequency of replacement depends on the type of strainer you are using and the amount of use it gets. Generally, it is recommended to replace your sink strainer every six months to a year.
2. What tools do I need to replace a sink strainer?
Answer: To replace a sink strainer, you will need a pair of pliers, a screwdriver, and a wrench. You may also need a sealant to ensure a watertight fit.
3. How can I prevent clogs in my sink strainer?
Answer: To prevent clogs in your sink strainer, make sure to clean out the strainer after each use and avoid putting food scraps or other debris down the drain. Additionally, using a drain cover can help to catch any debris before it reaches the strainer.
Conclusion
Replacing sink strainers in kitchen sinks is a fairly easy job that can be done with the right tools and knowledge. Knowing the right parts and techniques to use can ensure that the job is done quickly and correctly. With a few simple steps, you can easily replace sink strainers in kitchen sinks and keep your sink running smoothly.


